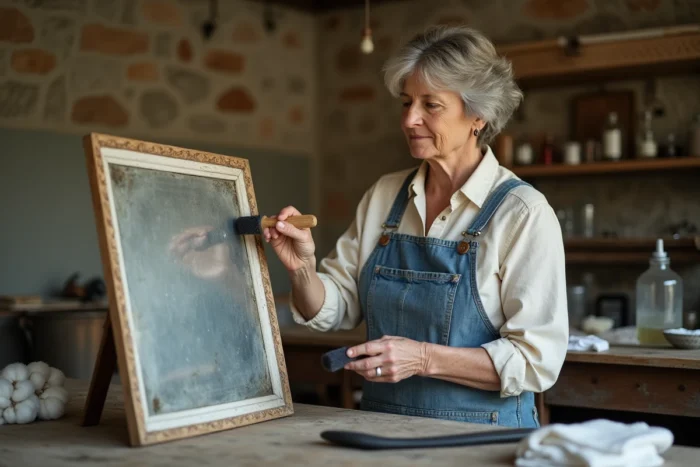
A spotted mirror has areas where the silvering, oxidized by moisture or attacked by unsuitable products, shows dark or translucent spots. Before sanding, painting, or discarding the piece, we recommend understanding precisely what is degrading and at what speed, in order to choose the right intervention.
Silver layer and copper layer: identifying the structure of the silvering before intervening
Consumer articles refer to the silvering as a single layer. In reality, on a modern mirror, the back of the glass first receives a silver deposit (the reflective layer), then a copper layer that protects the silver from oxidation, and finally one or two layers of protective paint. On an antique mirror, the composition may vary: tin-mercury amalgam, silvering without copper, handmade backing varnish.
This distinction conditions everything else. If the backing paint is simply flaking but the copper and silver are intact, a simple consolidating varnish is sufficient. If the black spots penetrate to the oxidized silver layer, no surface trick will restore the reflection in that area.
To diagnose, we place the mirror face down on a clean cloth and observe the back. Areas where the paint is flaking without visible spots on the glass side are recoverable. Areas where both the paint AND the copper are gone correspond to visible pitting on the front. When looking to restore a spotted and damaged mirror, this visual diagnosis of the back determines whether we can intervene ourselves or if we need to consider professional re-silvering.
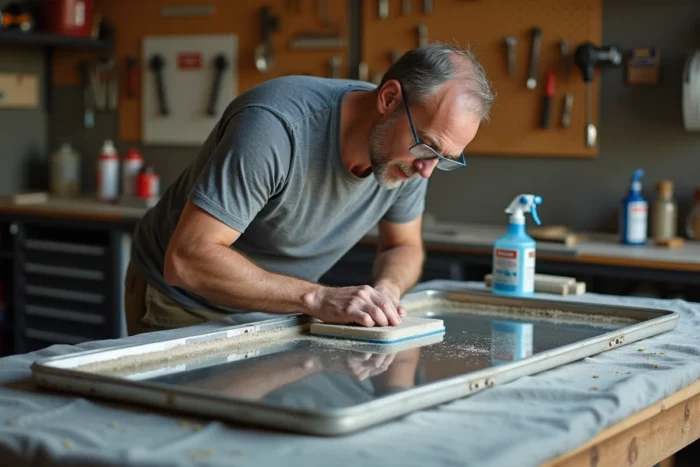
Cleaning the spotted mirror: allowed products and products to avoid
Commercial window cleaners, especially anti-limescale or streak-free formulas containing ammonia or acids, accelerate the degradation of the silvering on the edges. Several glass workshops now recommend sticking to a mixture of warm water and white vinegar applied with a microfiber cloth, never spraying directly onto the glass.
The reason is simple: spraying sends liquid onto the edges and behind the frame, where the silvering is most exposed. By soaking the cloth and then wiping, we control the amount of liquid in contact with the surface.
Compatible and incompatible products with silvering
| Product | Use | Risk to silvering |
|---|---|---|
| Warm water + white vinegar | Regular cleaning | Low if applied to cloth |
| Diluted Meudon white | Gentle polishing | Low, rinse quickly |
| Ammoniated glass cleaner | Degreasing | High, attacks the edges |
| Toothpaste or dry baking soda | Homemade polishing | Medium to high, micro-scratches |
| Pure alcohol | Stain removal | High on old silvering |
We emphasize a point that home polishing tutorials often overlook: test any abrasive method on a corner hidden by the frame. Toothpaste or baking soda can create micro-scratches invisible to the naked eye that become apparent in low-angle light.
Repairing visible pitting on the reflective surface
When the silvering is locally destroyed, the reflection does not return with cleaning. There are two approaches for home work.
Aluminum foil as a temporary solution
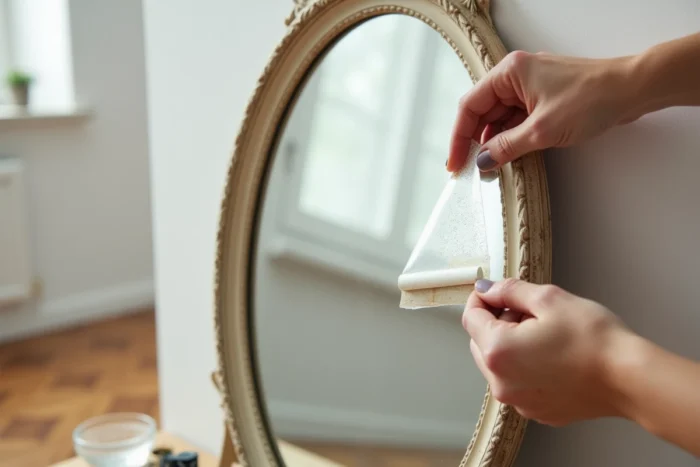
The most accessible method is to stick a piece of aluminum foil, shiny side against the glass, over the spotted area at the back of the mirror. It is fixed with clear adhesive or a thin layer of varnish. The result is not perfect (the reflection is slightly more diffuse than with silver), but the black spots visually disappear on the front side.
To ensure the foil adheres without bubbles, first remove the flaking protective paint from the affected area with a plastic scraper, clean with diluted white vinegar, dry completely, and then apply the foil, smoothing from the center to the edges.
Clear epoxy resin for edge chips
Chipped edges pose a different problem: they allow moisture to seep behind the silvering and propagate the pitting. Some consumer clear epoxy resins, originally designed for cooktops or glazing, can stabilize a small chip. It is applied in a very thin layer with masking tape around, then we wait for complete polymerization before removing the tape.
This repair does not restore the silvering, but it stops the progression of deterioration, which is often the primary goal.
Preventing pitting: ventilation and mirror installation
The majority of pitting results from moisture trapped between the wall and the back of the mirror. Manufacturers and glaziers now recommend not placing a mirror directly against a cold or damp wall. The solution is to leave an air gap using spacers, shims, or profiles fixed to the back of the frame.
In bathrooms, this precaution becomes crucial. A mirror laid flat against tiles in a poorly ventilated room will develop pitting within a few years. With a few millimeters of space, condensation evaporates instead of stagnating against the backing paint.
- Attach cork or rubber spacers to the four corners of the back of the mirror to create a permanent air gap
- Avoid sealing the edges with opaque silicone that traps moisture; prefer breathable sealant or mounting brackets
- Activate mechanical ventilation after each shower and wipe away water splashes on the edges of the mirror
A mirror with intact backing paint and a ventilated back can maintain its silvering for decades. Deterioration is not an inevitability linked to age, but almost always a problem of moisture and poorly chosen cleaning products.