Wearing a headpiece over curls often means accepting that they will be flattened when removed. Friction, compression, and lack of air circulation: these three combined factors are enough to break the definition of a spring in a morning, regardless of the material of the hat or cap.
Understanding their mechanics allows you to choose a suitable model and keep your curls intact.
Sun protection and curls: the compromise that no one really resolves
In summer, we face a concrete dilemma. Sun, salt, and chlorine damage curly fibers, sometimes permanently. A hat protects from radiation, but it compresses the curls and traps heat. Without headgear, UV rays dry out the cuticle and the wind tangles the lengths.
The question is not to decide between “hat or no hat,” but to limit the wearing time to phases of direct exposure. Remove the headpiece as soon as you move into the shade, shake the roots with your fingertips, and put it back in place. This simple reflex avoids prolonged compression that flattens curls from type 3A to 3C in a few hours.
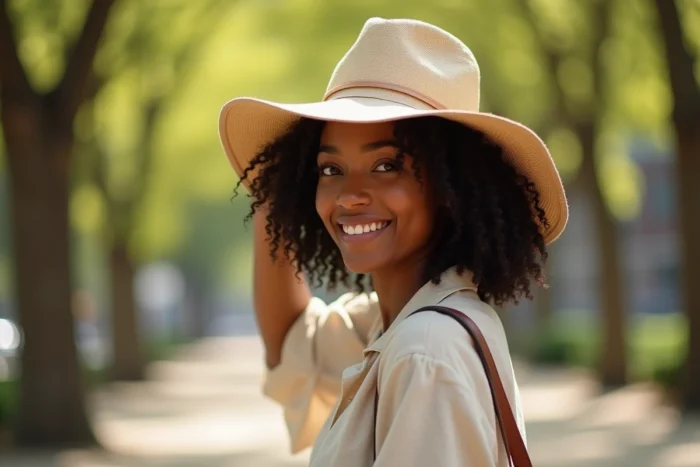
For swimming, a wide-brimmed bucket hat is more practical than a cap: it covers the nape of the neck, protects the lengths from salt, and can be removed without snagging wet strands. When looking for a hat or cap for curly hair that also holds up at the seaside, a soft, unlined polyester bucket hat offers the best compromise between coverage and respect for volume.
Cap for curly hair: the height of the crown makes all the difference
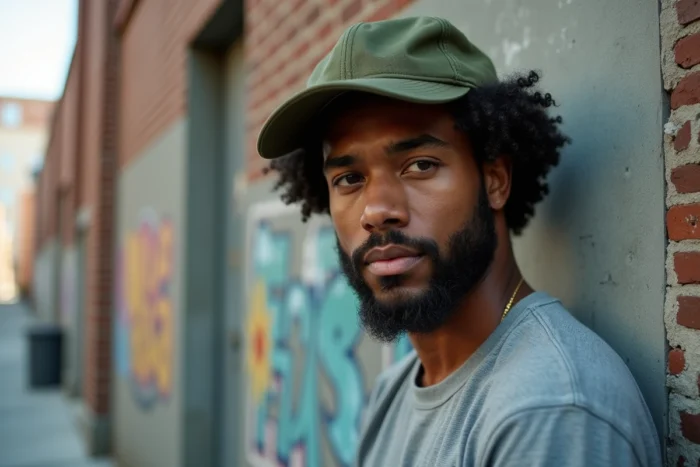
On the ground, the difference between a cap that crushes and one that preserves curls lies in a parameter often overlooked: the height of the crown. Low models, like fitted baseball caps, flatten the roots and compress the top of the head. The result after removal is predictable: flat curls on top, volume only on the sides.
So-called “trucker” or “snapback” caps with a high crown leave space between the fabric and the scalp. This space changes the game: curls maintain their spring because they are not in constant contact with the textile.
Back opening and ventilation
A high crown is not enough if air does not circulate. Caps with a mesh back panel expel moisture and reduce sweating at the forehead band. On curly hair, sweat accumulated under a closed cap softens the curl and promotes frizz during drying.
Models with at least two ventilated panels offer significantly better comfort in hot weather, especially for extended wear.
Lining and inner fabric: the real selection criteria
Textile friction alone determines most of the crushing experienced by curls. Raw cotton and untreated polyester lift the cuticle scales, generate static electricity, and break the definition of the spring.
Specifically, here’s what to check before buying:
- The presence of a satin or silk lining inside the crown, which reduces friction and preserves the hydration of the fiber
- The absence of thick seams at the top of the crown, which press on the curls
- The inner band made of smooth fabric rather than sponge or tight elastic, to avoid forehead marks
- A sufficiently dense weight so that the fabric does not deform and does not stick to the scalp after a few hours
There are now removable satin linings sold separately, to slip into an existing hat or cap. This solution allows you to keep a model you love without sacrificing your curls.

Technique for putting on and taking off curls: the gestures that matter
The best headgear in the world will not prevent flattening if you put it on by pulling the curls back. The placement should be from front to back, lifting the curls on top rather than flattening them.
Here’s the sequence that works:
- Slightly tilt your head forward and place the brim of the hat or cap on your forehead
- Slide the headgear back while guiding the curls on top with the other hand, fingers spread
- Adjust without tightening, leaving a noticeable space between the crown and the top of the head
Upon removal, reverse the gesture: lift the headgear upwards (not forwards) to avoid pulling the curls against their spring. A quick scrunch of the roots right after removal revives volume in seconds.
Protective hairstyles under a hat
Protective hairstyles used at night (silk scarf, “pineapple” technique) also work under a daytime hat. Tying curls in a loose pineapple at the top of the head before putting on a high-crowned bucket hat allows you to wear the hat for several hours without significant loss of definition. Release the curls upon removal, shake, and the volume returns.
The parallel with nighttime accessories is rarely made, but the logic is the same: reduce direct textile contact with the lengths and maintain the curls in their natural shape rather than compressed.
One last point to keep in mind: the choice between a bucket hat and a cap depends as much on the volume of the hair as on the shape of the face. Very dense curls (types 3C to 4C) require deeper crowns and stiffer brims to avoid sagging under the weight of the hair. Trying on the headgear in-store, with curls loose and styled as on a daily basis, allows you to quickly spot if the crown compresses the volume or if the brims hold in place.